
An event sets whether you are checking ages on a website or in person, over what dates, and using which rule. This article covers creating one, and the article for your chosen method picks up from there.
Before you start
Create at least one rule first. The event form asks you to pick one from your library and will not save without it. See Configure your age rules.
Open the events list
Sign in to the Business Portal, then open Age App, then Events.
The list shows every event with its dates, verification type, and status. By default it is filtered to active events, and you can clear that filter to see inactive ones too.
Click Add Event to start a new one.
Fill in the event details
Please select type is the first choice and it changes the rest of the form. Pick Embed for a website, or In-Person for a physical location.
Then fill in:
- Event Name, which is how you will find it later.
- Start Date, when the event becomes active.
- End Date, which is optional. Leave it blank for an event with no end.
- Event Description, which is optional.
Attach a rule
- Under Business Rule, click Add Rule from Library.
- Pick the folder holding your rule, then the rule itself.
- Click Continue.
The rule appears in a table on the event. Use Change Rule if you picked the wrong one.
Only folders that contain rules appear in the picker, so an empty folder will not be listed.
For an in-person event
Two more sections appear.
Define Welcome Message
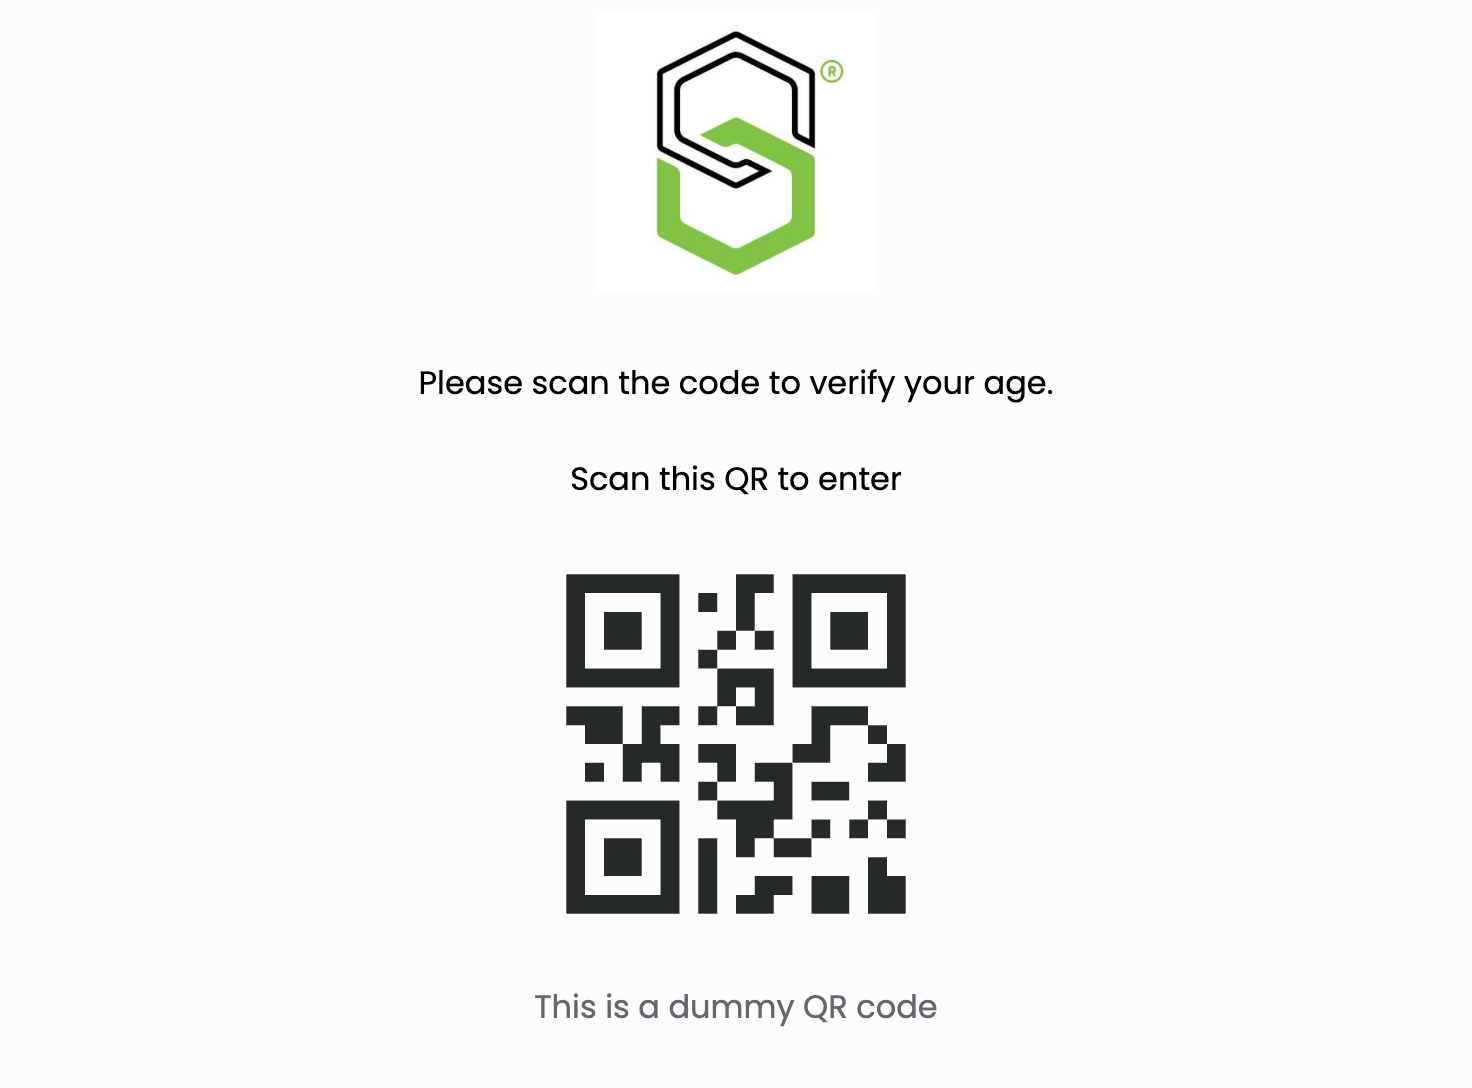
This is what customers read on the screen you display. It is a formatted text box, so you can style the message. Something short works best, such as "Please scan the code to verify your age."
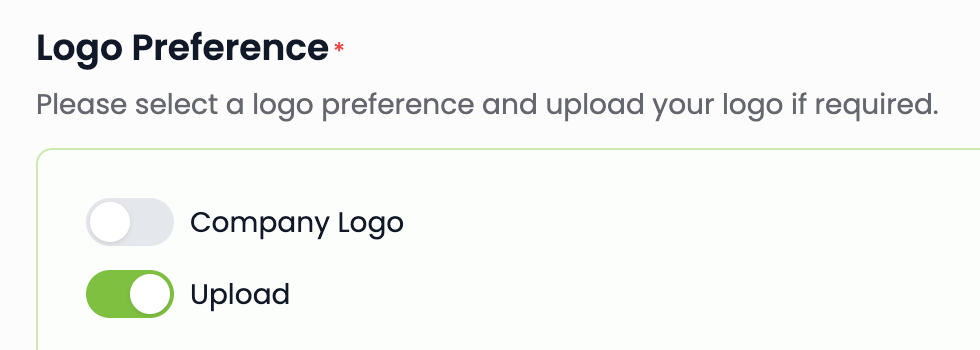
Logo Preference
This puts your branding on that screen. Turn on Company Logo to use the logo already on your organization, or turn on Upload to supply a different one. Upload accepts a single PNG or JPEG up to 10 MB, by picking a file or dragging it onto the box.
Click Preview to see exactly what a customer will see: your logo, your welcome message, and the QR code. The preview is labelled as a dummy QR code because it is not scannable. The real one comes from Present once the event is saved.
Click Save when it looks right.
Next: Use in-person age verification.
For an embed event
One more section appears, Embed Integration Setup. It stays greyed out until the event is saved, because the token it generates is tied to a saved event.
Click Save first. Embed Integration becomes available immediately after.
Next: Embed age verification on your website.
Manage an event later
On the events list, click the three-dot menu at the end of a row.
- Present opens the live QR screen. In-person events only.
- Edit reopens the form, including the embed settings.
- Mark as Inactive stops the event without deleting it.
- Delete removes it.
Your organization is responsible for determining the age-verification and identity-assurance requirements that apply to its business and jurisdictions. My Age App and the Business Rules Engine evaluate the conditions your organization configures; they do not independently determine the applicable legal or regulatory requirement.