
Check a customer's age at your counter or door by displaying a QR code they scan with the ChainIT ID app. This suits bars, dispensaries, venues, and any counter where someone would otherwise be reading an ID.
Before you start
You need two things in place.
- A rule, which decides who passes. See Configure your age rules.
- An in-person event, which connects that rule to your venue and carries your welcome message and logo. See Create an Age App event.
Step 1: display the QR code
- Sign in to the Business Portal, then open Age App, then Events.
- Find your in-person event and click the three-dot menu at the end of its row.
- Choose Present. The QR screen opens in a new browser tab.
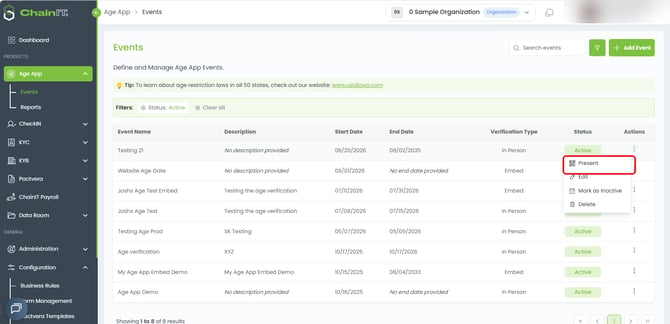
If nothing happens, your browser is blocking pop-ups for this site. Allow them and try again.
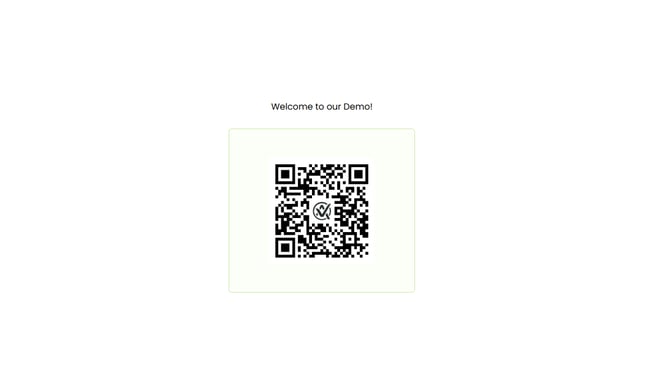
Put that tab on a screen your customers can reach: a tablet at the counter, a monitor at the door, or a second display.
Use a live screen, not a printout. The Present tab is what serves the code, and a printed copy is not something we have tested or support.
Step 2: the customer scans
Ask the customer to open the ChainIT ID app on their phone and scan the code on your screen.
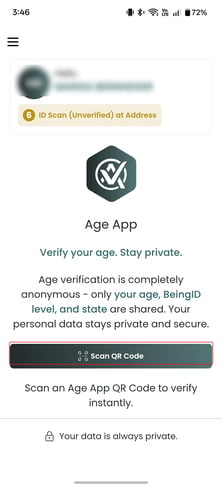
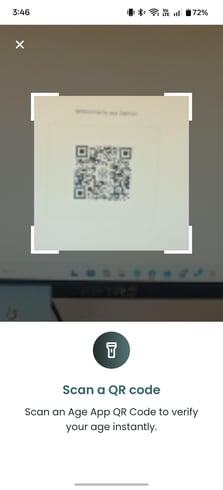
Step 3: read the result
The app checks their age and BeingID level against the rule attached to your event. The customer sees exactly what is being asked for, agrees to share it, and taps through.
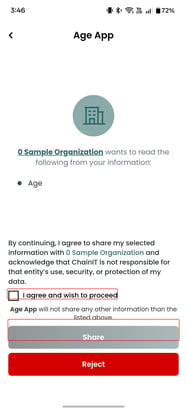
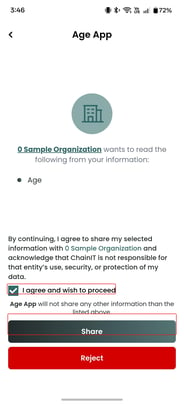
Your screen shows the check running while it happens.
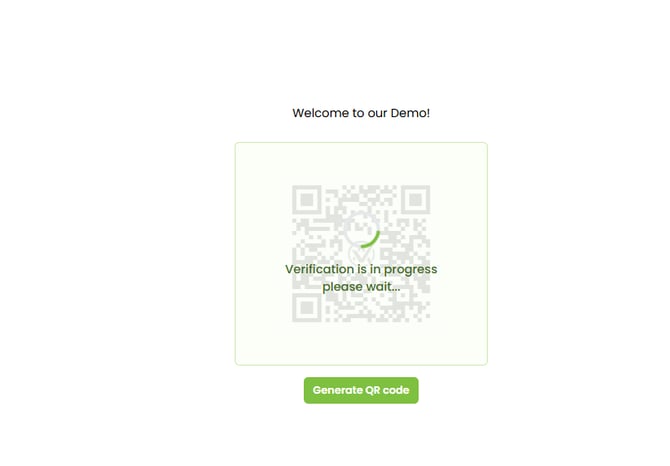
The result appears in two places at once: on the customer's phone and on your screen. Your staff do not have to lean over and read a customer's device, which keeps a queue moving.
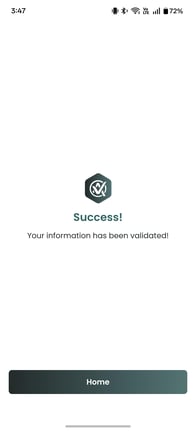
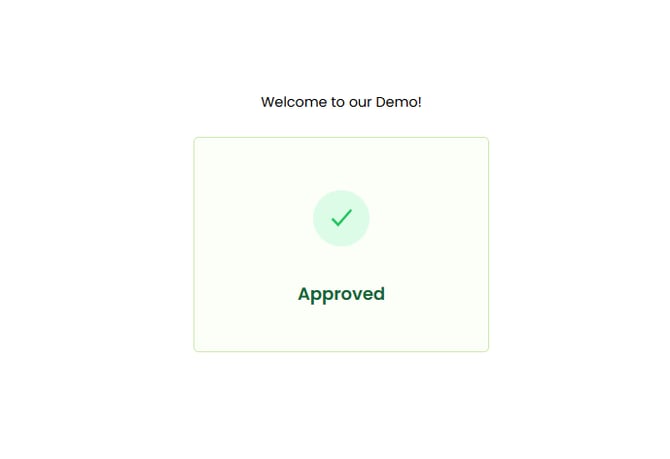
- A pass means they meet your requirement and you can serve them.
- A fail means they do not, and the transaction should not go ahead.
Tips for the counter
- Keep the screen at a height and angle that a phone camera can reach comfortably. Angled-back tablets are harder to scan than they look.
- Show staff the flow once before their first shift. The most common problem is a customer who has not installed the ChainIT ID app yet, and the answer is that the phone camera will take them to the app store.
Checking what happened
Every scan is recorded. To pull the history for a date range, see Age verification reports.
Your organization is responsible for determining the age-verification and identity-assurance requirements that apply to its business and jurisdictions. My Age App and the Business Rules Engine evaluate the conditions your organization configures; they do not independently determine the applicable legal or regulatory requirement.